
Category: Yeast Breads/Rolls
-
The Easiest (TikTok) Cinnamon Rolls
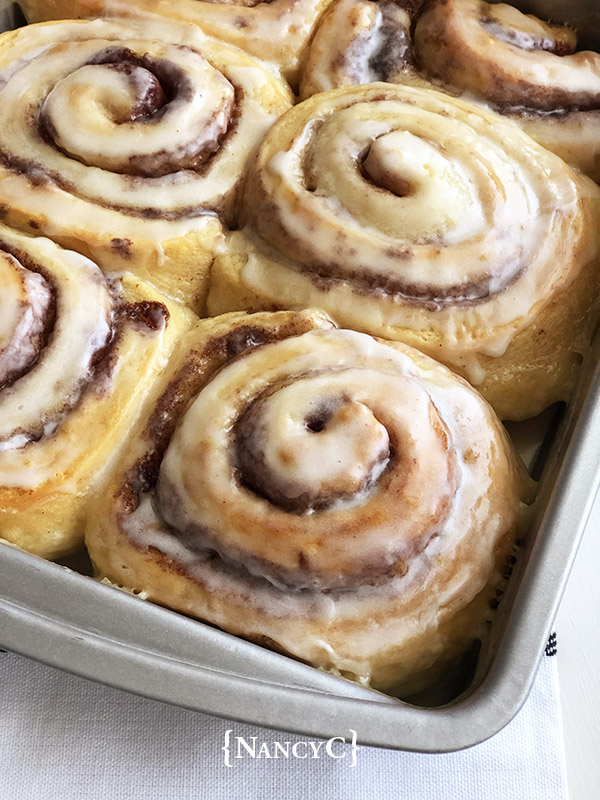
Super-easy cinnamon roll ideas are all over social media! They’re also known as TikTok Cinnamon Rolls. I’ve been wanting to try them out for awhile, and I finally had a chance! These are what you could call semi-homemade—the “recipe” uses a can of store-bought cinnamon rolls from the refrigerated section and heavy whipping cream. You…
-
Pumpkin Cornbread and Cornbread Muffins
If you like cornbread, this Pumpkin Cornbread and Cornbread Muffins recipe is great for the fall season! You can either make an 8 x 8″ pan of cornbread or 12 nicely rounded-top cornbread muffins. Both taste great warm out of the oven, spread with some butter and drizzled with some honey!
-
No-Knead Whole Wheat Bread
I’m a novice bread maker, so I stick to simple bread recipes! This one, for No-Knead Whole Wheat Bread, is really very easy, and it’s so great that it doesn’t require kneading! Basically, you mix up the batter, put it in a loaf pan, and let it rise for 20 to 25 minutes. After that,…
-
Oatmeal Maple Bread from The New Artisan Bread in Five Minutes a Day–and a Giveaway!
The Giveaway is now closed, but enjoy trying out the recipe for Oat Maple Bread! You’ve probably heard about the bestselling book Artisan Bread in Five Minutes a Day, first published back in 2007. Because of its popularity, authors Jeff Hertzberg, M.D. and Zoe Francois have completely revised and updated their original book that revolutionized…
-
A Savory Focaccia from Artisan Pizza and Flatbread in Five Minutes a Day
This delicious focaccia recipe is from a cookbook called Artisan Pizza and Flatbread in Five Minutes a Day, and I had the opportunity to review and try this recipe from it! Jeff Hertzberg, M.D. and Zoe Francois have created 100 new easy-to-make recipes for not only pizzas and flatbreads, but also soups, salads, sauces, and…
-
Moving and Hot Ham and Cheese Rolls
I’ve been busy moving these past few weeks, which is why I haven’t been posting much. My little house sold much sooner than I expected (one week, in fact!), so I had to find a rental place really quick! Now I’m in the process of unpacking…I’m not sure which is worse—packing things up, moving them,…
-
Easy, Cheesy Garlic Bread
Garlic bread is so good as a snack or served with pasta, soup, or chili. I really like this Easy, Cheesy Garlic Bread because it’s so good and cheesy! 🙂 This is made with both Mozzarella cheese and Parmesan cheese—the more cheese the better, right? I also used a loaf of French wheat bread instead of…
